If you’re like most RV owners, you appreciate the ability to handle your own maintenance and repair needs. After all, labor costs a fortune when you hire someone to do the work. The materials for most RV projects, including liquid roof repair, are fairly inexpensive and available at most home improvement stores and online RV supply stores. Therefore, if you are a somewhat handy person, you can save a lot of money on maintenance and repairs by doing the work yourself.
Liquid Roof Repair might sound intimidating, but it is actually one of the easiest types of roofing to work with on an RV. Keep reading to learn more about repairing your liquid RV roof.
Inspect the Roof Condition
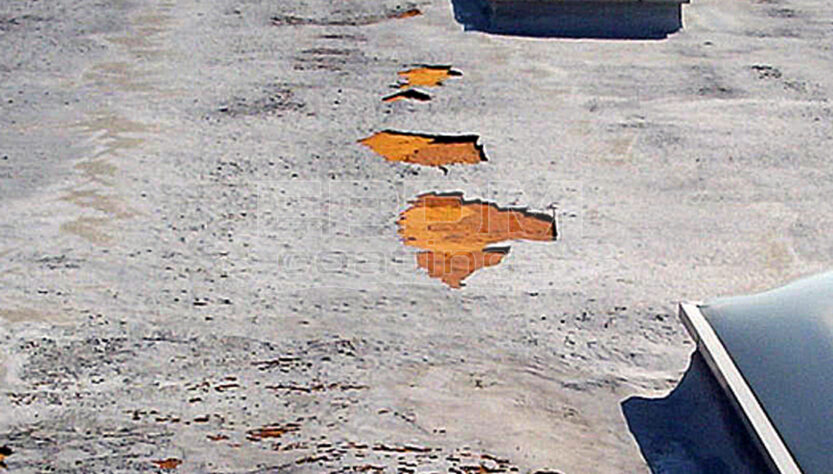
Don’t even bother shopping for repair supplies and materials until you can get up on your RV roof and take a look at the damage for yourself. Use your smartphone camera to notate hard-to-find areas of damage or wear that need redone while you are inspecting the roof. Also, look at the amount of area that needs repaired. Usually, this roofing material holds up better than others, but it can still get damaged or be prone to wear over the years. Depending on the amount of damage or wear, and how old the RV roof is, it might be a better idea to do a full recoat than to just repair the affected areas.
Check the Owner’s Manual
If the roofing on your RV is the same material that was installed at the time of manufacture, there is probably important warranty information in the owner’s manual. This information will advise on proper cleaning and repair methods and products that can be employed without voiding the warranty.
If your roof has been replaced since the RV was first built, you should have the warranty information for that replacement somewhere. Even if you put on the liquid roof yourself, the product that you used has some kind of manufacturer’s warranty. Again, you’ll want to look into this to make sure that whatever you do doesn’t void any warranties or guarantees.
How to Choose Liquid Roof Repair Materials
Now that you are familiar with how to complete repairs or recoat your RV roof without voiding any warranties, you can pick up the products that you need and get to work. Choose liquid roof coatings and repair kits that work with your existing roofing material. You can find repair and patch kits or purchase the liquid roofing and accessories or tools you need separately, making it easy for you to get the right supplies for the job. As long as you have the correct type of materials, the rest of your purchasing decision will be based on things like:
- Price
- Brand Reputation
- Application
- Durability and Longevity
Recoating is More Common than Repairing
When dealing with a liquid roof, repairs are generally minimal because the material is designed to be durable, flexible, and hold up to all kinds of extremes and elements. This cost-effective roofing option generally needs a recoat before it needs repair, simply due to wearing down with age. Resealing or recoating a liquid roof is a routine part of ownership, and you can expect your roof to need a fresh coat every 3-5 years, depending on frequency of use, climate, and how your RV is stored.
If you do find yourself in the position of needing repairs on your liquid roof, the process should be a simple one. Just remember to start with a clean slate and remove all of the debris and damage so that your repair creates a strong, watertight seal. When done right, repairs should last a long time, or at the very least, until your next recoating job.


