Your roof is a vital component of your home. It protects your interior from the elements, from harsh sunlight, and from temperature extremes. It also helps hold the entire structure together. If you have an EPDM Rubber roof, you enjoy significant benefits over other types of roofing systems, such as asphalt shingles. However, you are still subject to leaks, and those can be challenging to locate. In this post, we want to address several tips to help you identify and then repair roof leaks in rubber roof coatings.

Start from the Inside
Finding a leak can be hard, unless it’s so bad that water is visibly dripping from the ceiling of your home, which usually isn’t the case. Often, it is easiest to spot signs of a roof leak from the inside of your home, rather than from the outside. Look at ceilings throughout your home, as well as the walls. You’re looking for darker discolorations, often red or brown. These are signs that water has made it to the sheetrock, penetrated the material, and then dried. If you see any of these markings, you certainly have a leak. However, it might not be directly above the area where the discoloration appears, as water can enter through the roof, run down the underlayment, and then drip down far from where it originally entered the home.
Get Up in the Attic
To find leaks in rubber roof coatings, you will eventually need to get up in your attic or crawl space. This gets you one step closer to the source of the leak and will allow you to further investigate the situation. Once in the attic, go to where you saw the water stains on the ceiling or wall. Use a flashlight to locate water stains on wood or to find wet insulation (which can be challenging to spot on its own).
Follow the Trail
Once you have found where the water is coming from, it’s time to follow the trail. In some instances, you may find that there’s a puncture in the roof and underlayment directly above the space where you noticed the water damage in your home’s interior, but this is not usually the case. You’ll often have to follow the trail from that point to where the water actually entered the home. Remember that water always runs downhill, and it always follows the path of least resistance. With that in mind, try to trace its path back to the point of origin.
Inspect the Top for Damage
In some cases, this may lead you to obvious damage. If you spot a hole in your roof, that’s more than likely going to be the source of your leak. However, you may not find any large gap in the roof. Instead, you’ll find a point between two pieces of roofing underlayment where water entered. To find out what’s really going on, you’ll need to get on top of the roof.
Getting up on the roof of your home is always a dangerous proposition, so be careful. Make sure to have a helper handy in case you fall and need help. Using a ladder, climb up on your roof and go to the area where you believe the water entered the structure. Check for punctures through the rubber, or areas where caulking might be missing. Damaged flashing can also allow water into your home.
Use Liquid Butyl Rubber for Repairs
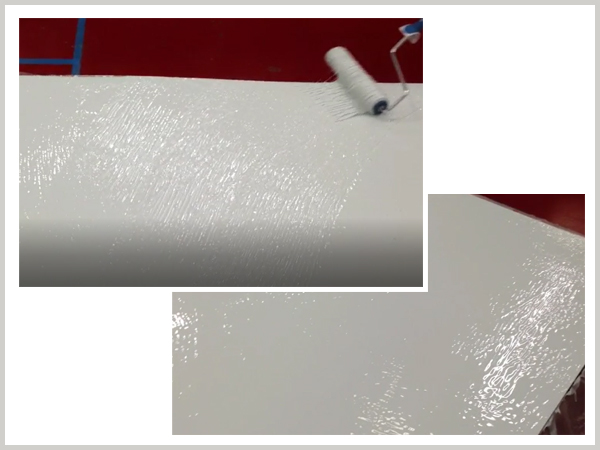
Once the source of the leak is located, rubber roof coatings can be repaired with Liquid Rubber. A single layer of Butyl Liquid Rubber gives you a waterproof seal immediately, preventing further water incursion into your home.
We Are Proud to Announce some significant enhancements to our product line. Our BUTYL LIQUID RUBBER is now a single component product with the solvent already incorporated into the product. We have extended the shelf-life to four years as well as incorporating a mildewcide to deter mold spores from growing on your roof. Click here for an many other benefits! CLICK HERE for the details.
We also make a couple enhancements on our RV ROOF MAGIC product as well. CLICK HERE for the details. We have also added a Seam Repair Kit and increased our tensile strength in our clear skylight protector, Skylight-911 and have increased the strength of our Roof Cleaner Roof Protect giving you up to 15 washes.


