
Let’s be honest: nobody actually wants to spend their Saturday on a roof. But if you’ve noticed a brown spot blossoming on your ceiling or a slow drip during a thunderstorm, you’re officially on the clock. At EPDM Coatings, we talk to building owners every day who are terrified that a leaky flat roof means an inevitable $20,000 replacement.
Here is the good news: it usually isn’t. If you catch the damage early enough, you can “reset the clock” on your EPDM rubber for another 18 to 20 years. You don’t need a massive crew; you need the right process and some professional-grade liquid butyl rubber.
Here is how you handle it in five straightforward steps.
1. Play Detective: Finding the “Why” Before the “How.”
Water is a master of disguise. Just because you see a leak in your hallway doesn’t mean the hole is directly above it. Water loves to hit a rafter and travel ten feet before it finally decides to drip.
Put on some grippy boots and walk on your epdm rubber roof. You’re looking for three main culprits:
- The “Fish-Mouth”: This is when a seam lifts and looks like a puckered lip.
- The “Chalk Test”: Rub your hand on the membrane. If it comes away covered in grey or black dust, your roof is oxidizing and losing its UV protection.
- The Penetrations: 90% of leaks happen at the edges – around HVAC units, pipes, and drains. Check these first.
2. The Golden Rule: If It’s Not Clean, It Won’t Stick
I’ll tell you exactly where most DIY jobs go wrong: the prep. You can buy the best roof coatings in the world, but if you apply them over dirt or “chalk,” they’ll peel off like a bad sunburn within a year.
Grab a power washer or a stiff-bristle brush. You need to get that surface back to its original state.
A quick warning: If some “handyman” previously tried to fix your roof with silicone or oily black tar, you have to scrape every bit of it off. Liquid butyl rubber is a powerhouse, but it won’t bond to silicone. It’s like trying to tape a piece of oily paper – it just won’t happen.
Once it’s scrubbed, let it dry. If you trap moisture under your new coating, it will turn into a bubble the second the sun hits it.
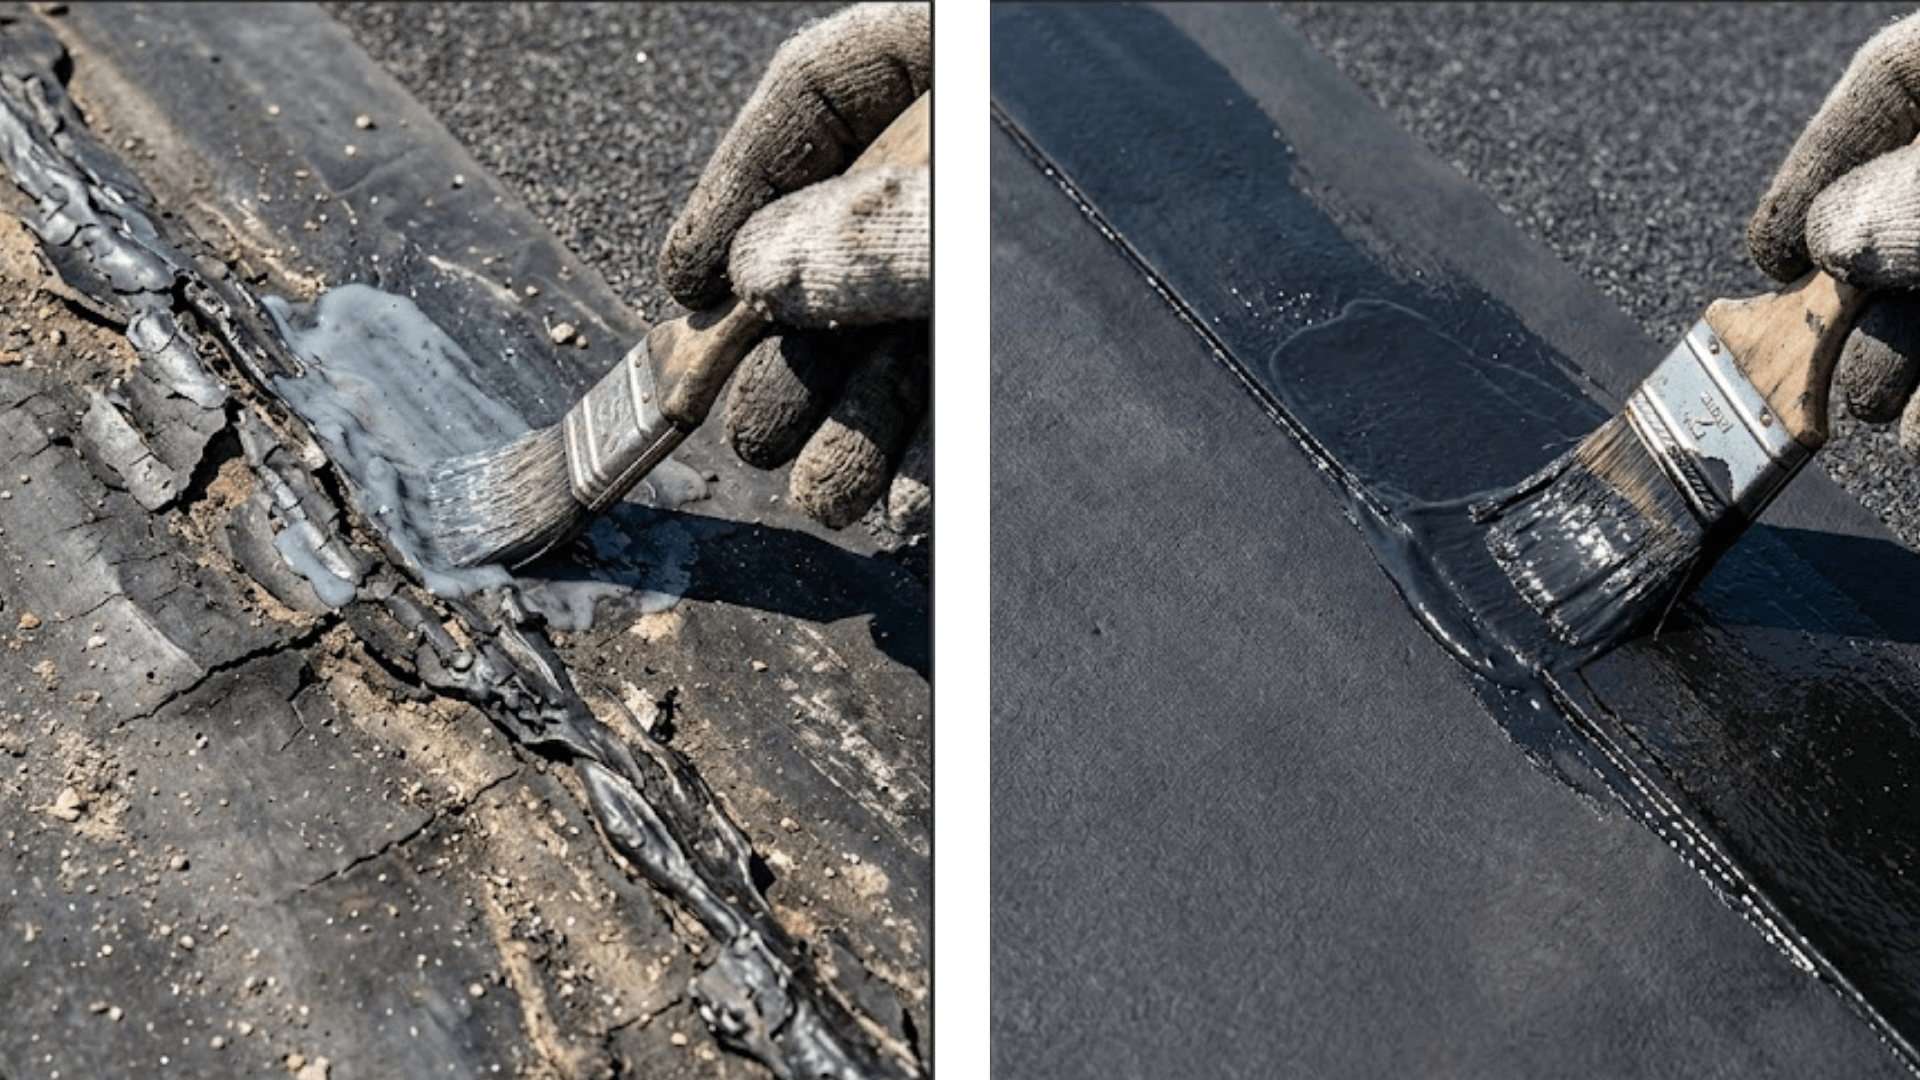
3. Don’t Skip the “Detail Work.”
Think of this like painting a room in your house. You don’t just start swinging a big roller; you “cut in” the corners first.
Take a brush and apply a thick layer of liquid butyl rubber around every vent, pipe, and chimney. If you see a crack wider than a penny, don’t just hope the coating fills it. Use a bit of polyester mesh. Lay the mesh over the crack, “wet” it down with the liquid rubber, and smooth it out. This creates a reinforced bridge that moves with the building.
4. The Science Project (Mixing)
Our liquid butyl rubber isn’t just a bucket of paint; it’s a two-part chemical system. When you open the pail, you’ll find a small bottle of catalyst. This is what makes the rubber “cross-link” and become waterproof.
Do not try to stir this with a wooden stick. You won’t get it consistent enough. Use a power drill with a mixing attachment for a solid five minutes. You want to make sure that the catalyst is swirled into every single drop. If you miss a spot, you’ll end up with a “tacky” patch on your roof that never dries.
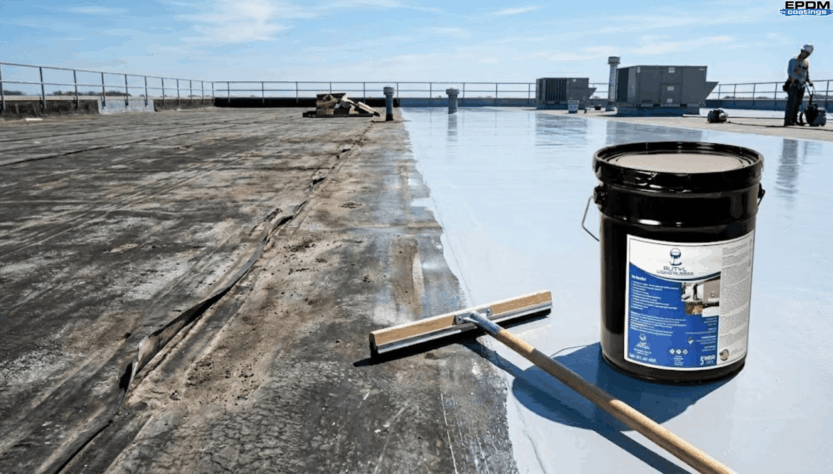
5. The “Pour and Spread” – The Finish Line
This is the part where you finally see the transformation. Instead of dipping a roller into a tray a thousand times, pour the roof coatings directly onto the roof in a long, snake-like line.
- Squeegee first: Move the liquid around to get even coverage.
- Back-roll: Follow up with a medium-nap roller to smooth out the ridges.
- One and done: The beauty of this system is that it’s a single-coat application. You don’t have to wait 24 hours before coming back and doing it all over again.
Why This Works (When Other Stuff Fails)
Most hardware store roof coatings are water-based acrylics. They’re fine for a quick fix, but they can’t handle “ponding water” – those stubborn puddles that sit on flat roofs for days.
Because our product is a solvent-based liquid butyl rubber, it actually becomes part of your roof. It stays flexible from -60°F to 300°F. It doesn’t get brittle in the winter or “goosey” in the summer. It just stays rubber.
Ready to get started?
Fixing your roof yourself doesn’t have to be a nightmare. It’s about having the right instructions and the right chemistry. If you’re tired of chasing leaks every time it clouds over, head over to epdm coatings. We can help you figure out exactly how much you need for your specific roof size.