
A rubber roof tear is easy to ignore. It may seem minor – a thin split at a seam, a loose edge by a vent, or worn roofing after a few seasons. But snow, ice, or standing water can quickly turn even small openings into leaks that are difficult to manage.
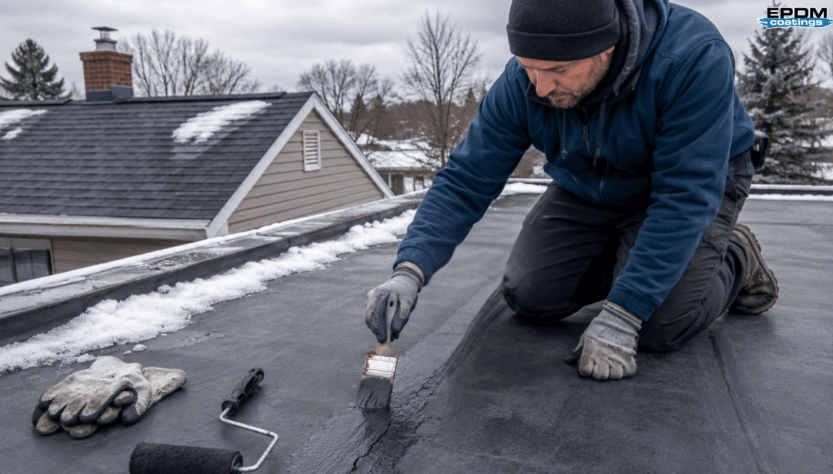
Rubber roof tears should be repaired as soon as you notice them. Often, you do not need to replace the entire roof. Careful repairs and the right protective coating can effectively seal the area, prevent water intrusion, and strengthen waterproofing before winter.
For property owners seeking a practical solution, epdm coatings can help restore and protect aging rubber roofs when the surface is properly prepared.
Why a Small Roof Tear Can Become a Big Winter Problem
Rubber roofs are built to withstand outdoor conditions, but they still face constant stress. Sun exposure, rain, temperature changes, foot traffic, ponding water, and building movement all affect the roof over time. Most problems start at the weakest points: seams, edges, drains, vents, flashing, and old repair areas.
During winter, those weak spots become even more important. Snow sits on the roof, adding weight. When the snow begins to melt, the water looks for any small gap where it can enter. If that water freezes again, it expands. That freeze-and-thaw cycle can stretch a tear and make it worse.
The frustrating part is that a roof leak does not always show up directly under the damaged area. Water can travel beneath the membrane before finally appearing on the ceiling or wall inside the building. By the time you notice a stain indoors, the roof may already have been leaking for a while.
That is why early roof repair matters. A quick repair today can help prevent soaked insulation, damaged decking, ceiling stains, and bigger repair costs later.
Start by Checking More Than Just the Tear
Before you reach for any coating or repair material, take a few minutes to inspect the roof properly. The visible tear may not be the only issue. If one part of the roof is showing wear, nearby seams or flashing may also be weak.
Look closely around:
- Roof seams
- Vents and pipes
- Drains and low areas
- Roof edges
- Flashing
- Old patch areas
- Spots where water often sits
You are looking for cuts, lifted edges, cracked old sealants, bubbles, soft areas, or any place where the roof surface no longer looks fully sealed. It is better to find these problems now than after the first heavy snow.
Also, check whether any old silicone or tar-like repair product has been used before. Some materials do not bond well with liquid rubber coatings, so loose or incompatible material should be removed before the new repair is applied.
Clean the Area Like the Repair Depends on It – Because It Does
A roof coating is only as good as the surface it sticks to. This is the part many people rush, but it is one of the most important steps in the whole job.
Before repairing the tear, clean the damaged area and the surrounding roof surface. Remove dirt, loose coating, dust, grease, mildew, and any material that is peeling away. The roof should be dry before you apply anything. If there is trapped moisture under the surface, coating over it can lead to blistering or a weak repair.
This step does not need to be complicated, but it does need to be done carefully. A clean, dry roof gives the repair material the best chance to bond properly and form a strong, waterproof seal.
Reinforce the Tear Instead of Just Covering It
If the tear is tiny, a liquid rubber coating may be enough to seal it. But for larger tears, open gaps, or areas that move a lot, reinforcement is a better approach.
A common method is to use polyester fabric or mesh with Liquid Butyl Rubber. First, apply the coating over and around the damaged area. Then lay the fabric into the wet coating and apply more product over the top until the reinforcement is fully covered.
This creates a stronger repair than simply brushing material over the tear. The fabric helps bridge the damaged area, while the coating seals it into the roof surface. This is especially helpful around seams, edges, vents, pipes, and other places where the roof expands and contracts.
Think of it this way: you are not just hiding the tear. You are building a flexible waterproof patch that moves with the roof.
Use a Coating That Can Handle Standing Water
One thing many property owners do not realize is that not all roof coatings are made for ponding water. This matters a lot on flat and low-slope roofs. Snow melts. Rain collects. Water may sit in low areas for hours or even days.
If a coating is not designed for that kind of condition, it can soften, peel, or fail over time. That can leave the roof exposed again, right when you need protection the most.
liquid butyl rubber from EPDM Coatings is designed to create a seamless, waterproof membrane and to withstand ponded water. That makes it a good fit for rubber roof repair, where snow, rain, and standing water are serious concerns.
It is also flexible, which is important because roofs are never completely still. They move in hot and cold weather. They expand, contract, and shift slightly with the building. A flexible coating helps the repair stay sealed through those changes.
Do Not Stretch the Product Too Thin
When coating the repaired section, apply the product at the recommended coverage rate. It can be tempting to spread the coating thinner to cover more area, but that can weaken the protection.
The coating needs proper thickness to perform as a waterproof membrane. On smooth surfaces, one gallon generally covers around 50 square feet. Rougher surfaces may need more product. If you are coating a larger roof section, measure the area first, so you have enough material for the job.
A small tear repair may only need a focused application. But if the roof is older, worn, or showing several weak spots, coating a larger section can provide better long-term protection than patching one spot and leaving the rest exposed.
Pay Special Attention to Low Spots
Low spots are where water sits after rain or snowmelt. These areas deserve extra attention because they are under more stress than the rest of the roof.
If water always collects in the same place, inspect that section carefully. Look for soft spots, seam issues, surface cracks, old repairs, or any signs that water has already begun working its way into the roof system. A coating that can handle ponding water is important, but the area still needs to be cleaned and repaired properly first.
A good repair is not just about stopping today’s leak. It is about giving the roof a better chance to handle the next storm, the next freeze, and the next round of standing water.
Best Time to Make the Repair
The best time to fix a rubber roof tear is before the weather turns harsh. A dry day in the fall is ideal because it gives you time to inspect, clean, repair, and coat the roof before snow becomes a regular issue.
That said, if you find a tear close to winter, do not ignore it. Choose a dry window and follow the product directions closely. Make sure the coating is mixed properly and applied to a clean, dry surface.
Taking care of the repair before snow arrives can make a big difference. Once the roof is covered with snow or ice, the repair becomes harder, less safe, and more urgent.
Repair Now, Save Yourself Trouble Later
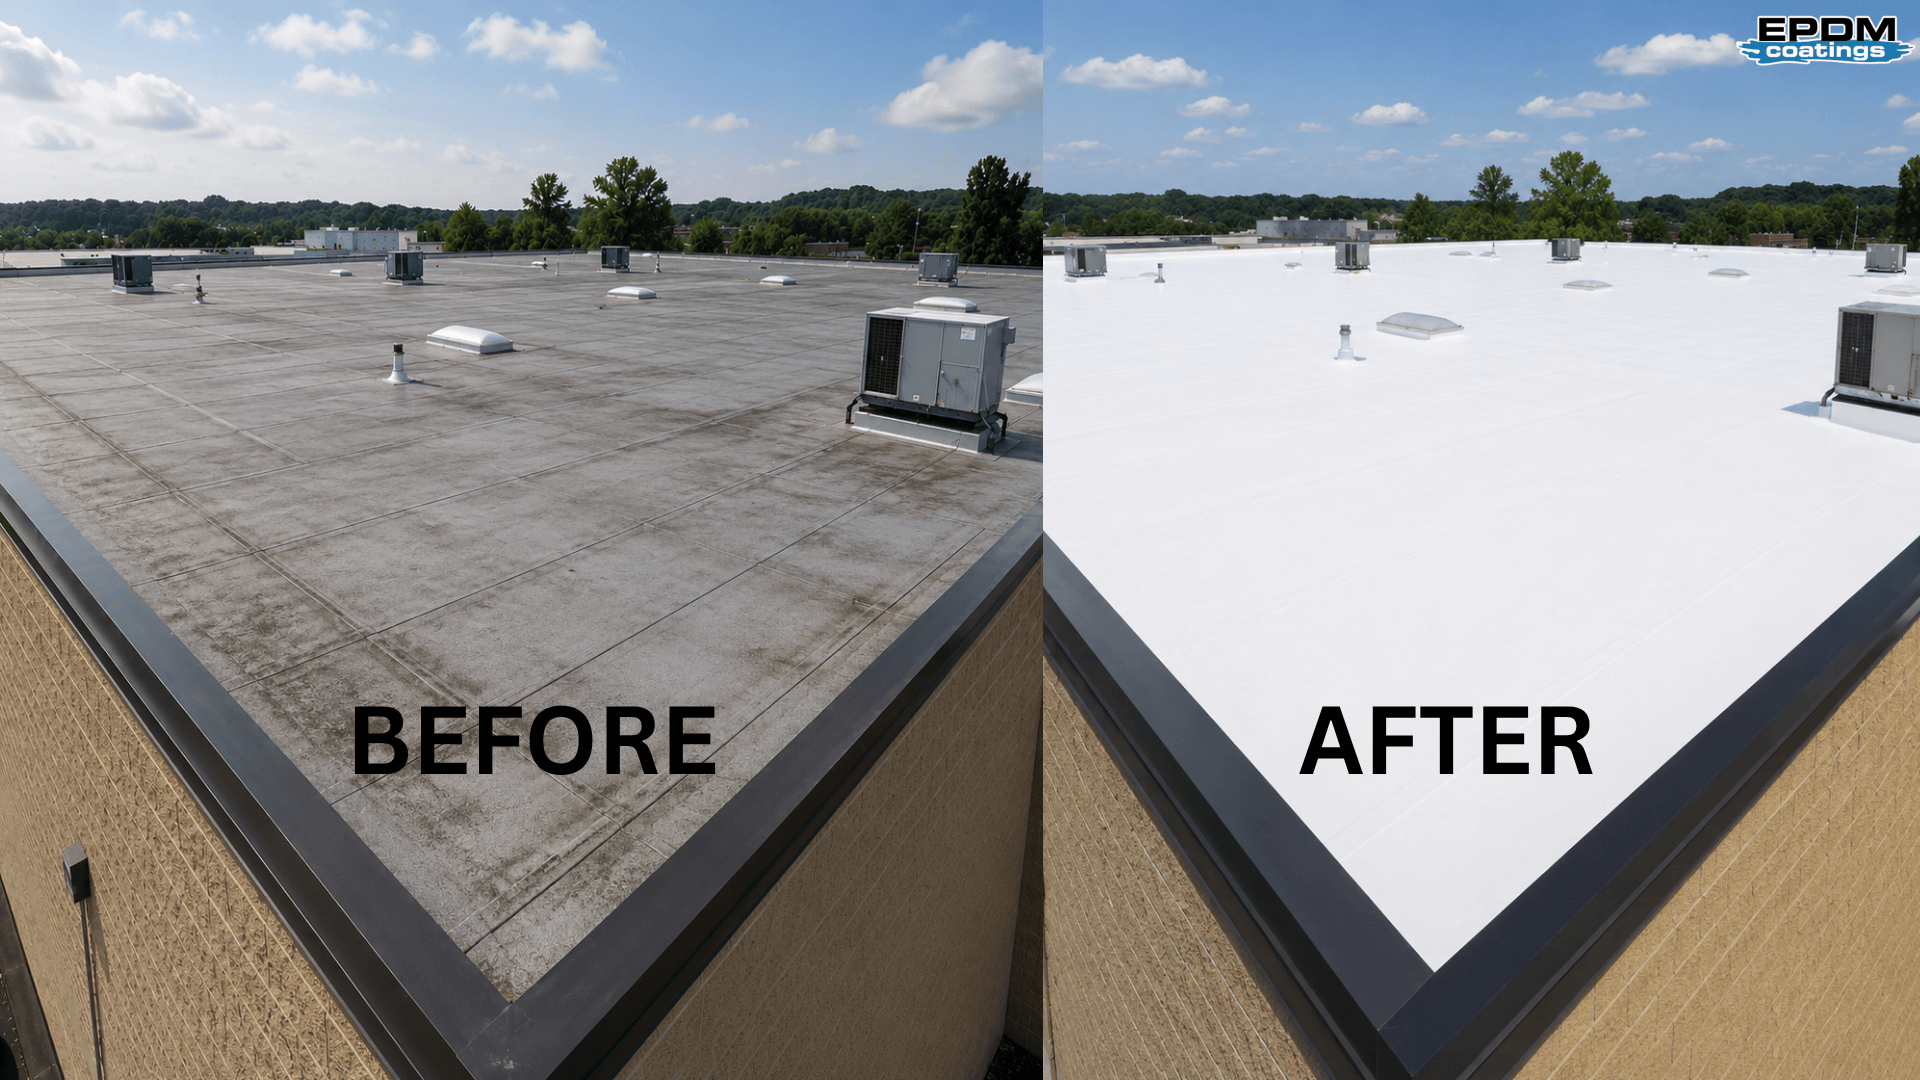
A rubber roof tear does not always mean the entire roof is finished. If the roof deck is still solid and the damage is caught early, a proper coating system can often restore waterproofing and extend the roof’s life.
Full roof replacement can be expensive and disruptive. A coating-based repair is often a more practical option for many property owners, especially when the main issue is surface damage, seam weakness, or a tear that has not yet caused major structural problems.
The important thing is to act early. Waiting usually gives water more time to spread. And once water gets under the roof surface, the repair can become more complicated.
Final Thoughts
A rubber roof tear may seem like a small issue, but snow and water can turn it into a serious leak if it is not handled in time. The right process is simple: inspect the roof, clean the area, reinforce the tear if needed, and apply a waterproof coating that can handle real roof conditions.
For homeowners and building owners seeking reliable protection, epdm coatings offer a practical way to repair and protect rubber roofs. Liquid Butyl Rubber helps create a seamless, flexible surface that can withstand ponding water, snowmelt, UV exposure, and everyday roof movement.
Do not wait until water shows up inside the building. A small repair now can help protect your roof, insulation, ceiling, and peace of mind through the winter season.